| MacHouse Software |
Last updated: April 02, 2011
|
| Discs2Go - User's Guide |
1. Installing and uninstalling Discs2Go Please read the README file that comes with the application. Or click here to download one.
2. Preferences If this is your first time in using Discs2Go, we suggest that you open Preferences. Choose Preferences under Discs2Go on the menu bar. (See Screenshot 1.) You can also just click on the leftmost Toolbar button that says Preferences.
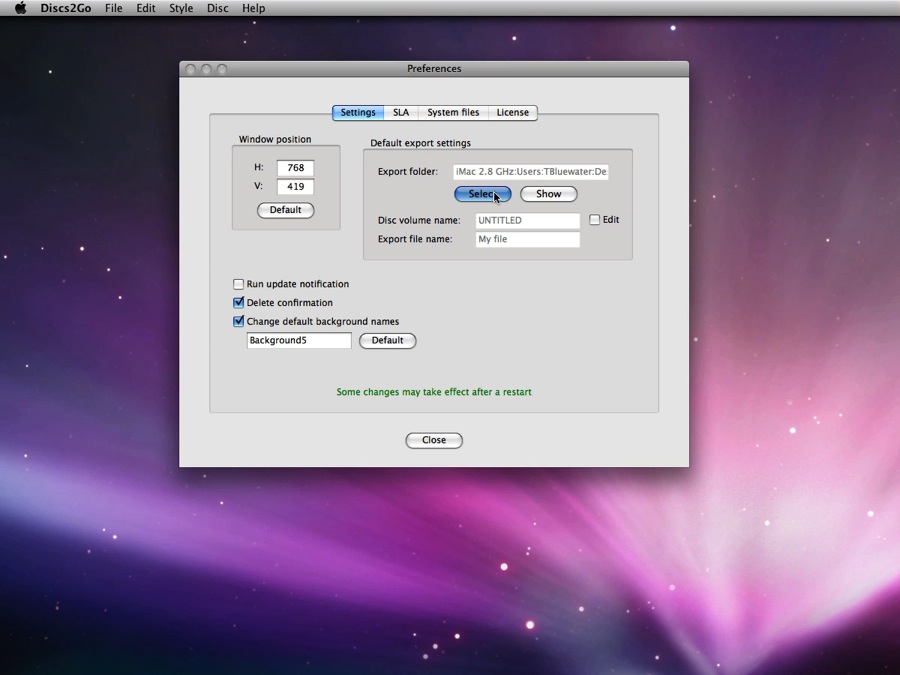
Starting with the Settings tab, let's take a look at what we have inside the box that says Default export settings. Whether you convert a folder into a Read/Write disc image or generate an SLA file, Discs2Go will resort to these settings. If a default export folder is not set, then Discs2Go will automatically send files to Desktop. Similarly, if no default name is set, then Discs2Go will name a disc volume UNTITLED. In order to change default volume names and default export file names, click on the checkbox button that says Edit, by the way. (See Screenshot 3.)
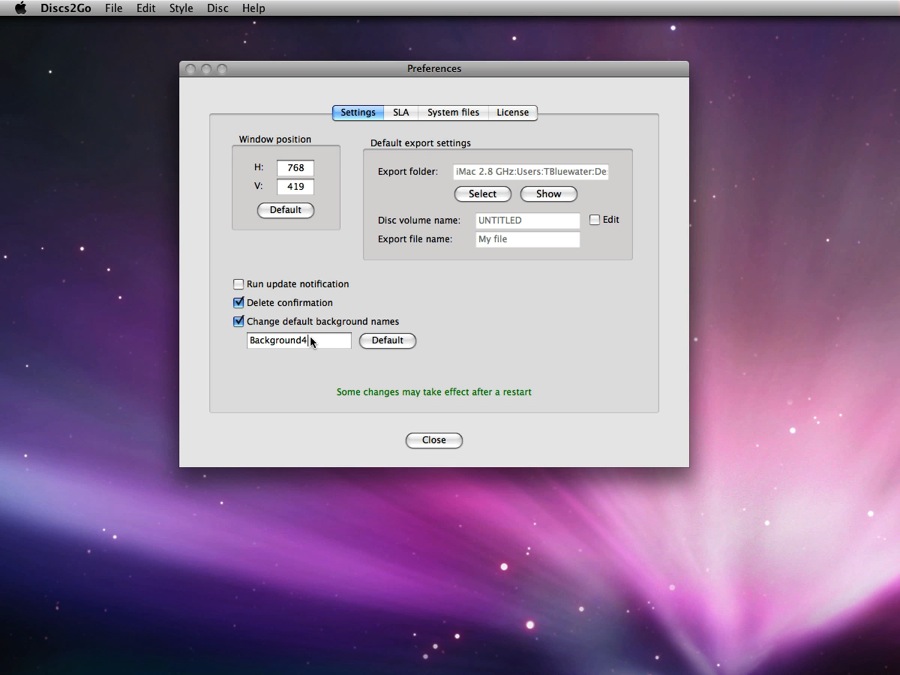
Under the same tab, there's a checkbox that says Change default background names. When you lay a background picture on a disc volume, Discs2Go will automatically name the picture file Background with a file extension when possible). If you want Discs2Go to name the background picture differently, then enable this checkbox and enter a name below. (See Screenshot 4.) Let's move on to the next tab. The tab labeled SLA is used exclusively with one of the four software components called SLA. This feature allows the user to attach a software license agreement file to a disc image. Using SLA requires that you have Developer's kit installed on your computer. You can find the latest version at Apple's Developer website. (Click here for more information.) You can also find an appropriate version for your computer inside the OS X installation disc.
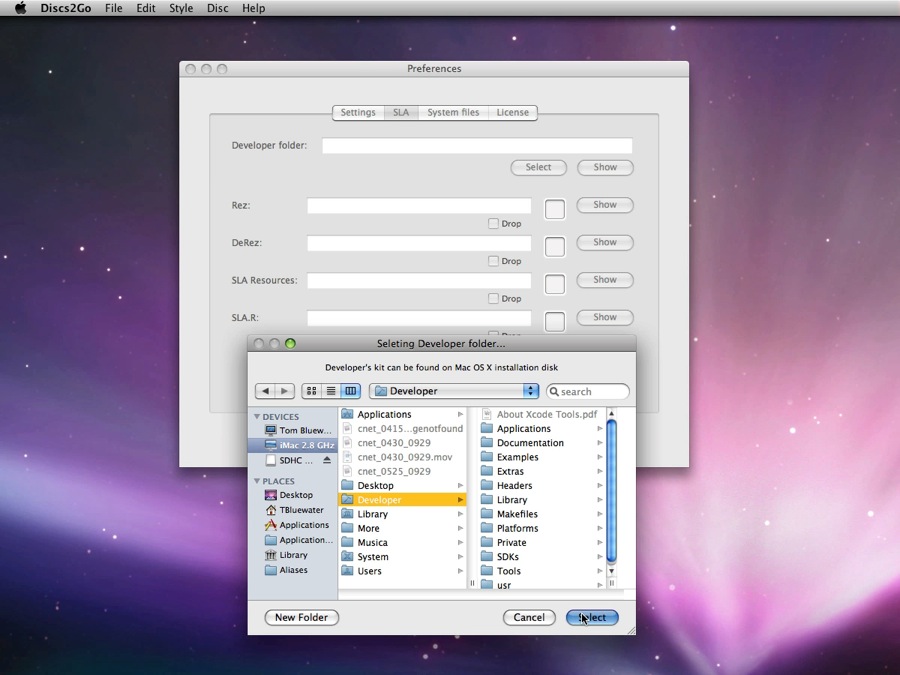
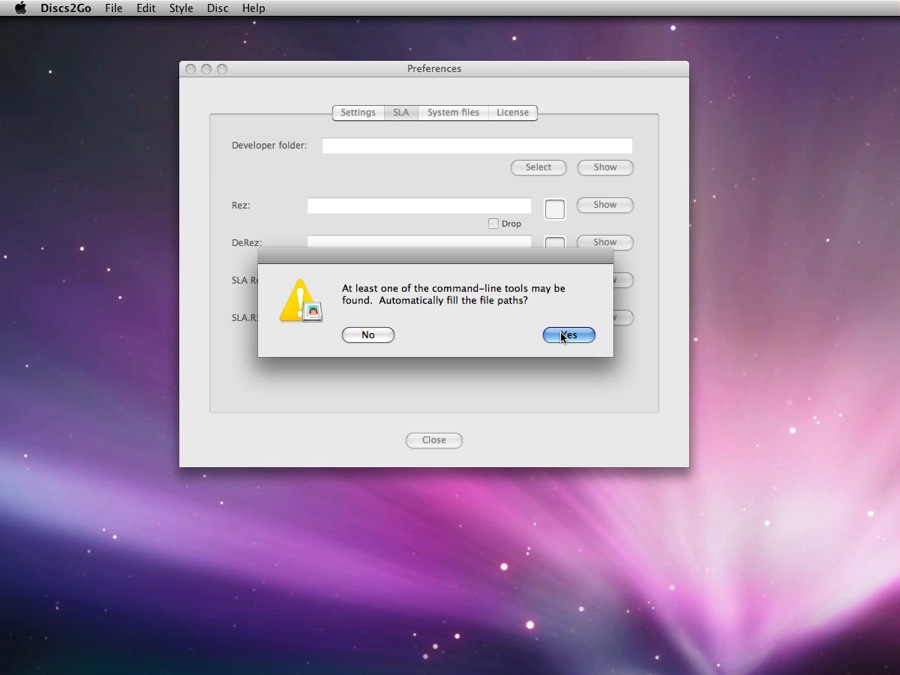
Back to Preferences, click on the Select button to locate the Developer folder. (See Screenshot 5.) If it's the right folder, Discs2Go will automatically take care of the business and find paths to Rez and DeRez (UNIX command-line tools) for you. (See Screenshot 6-7.) Also, if you already have software license files (SLA Resources and SLA.R), you may want to import them under this tab. (See Screenshot 8.)
We will get to this subject in more details under 3d. SLA.
3. Using Discs2Go The fisrt software component to talk about here is Create. Create allows the user to convert folders into Read/Write disc images, one at a time. Little Disc+ has a similar feature. Compared with Little Disc+, Discs2Go has less options solely for the purpose of your concentrating on creating Read/Write disc images only for Mac.
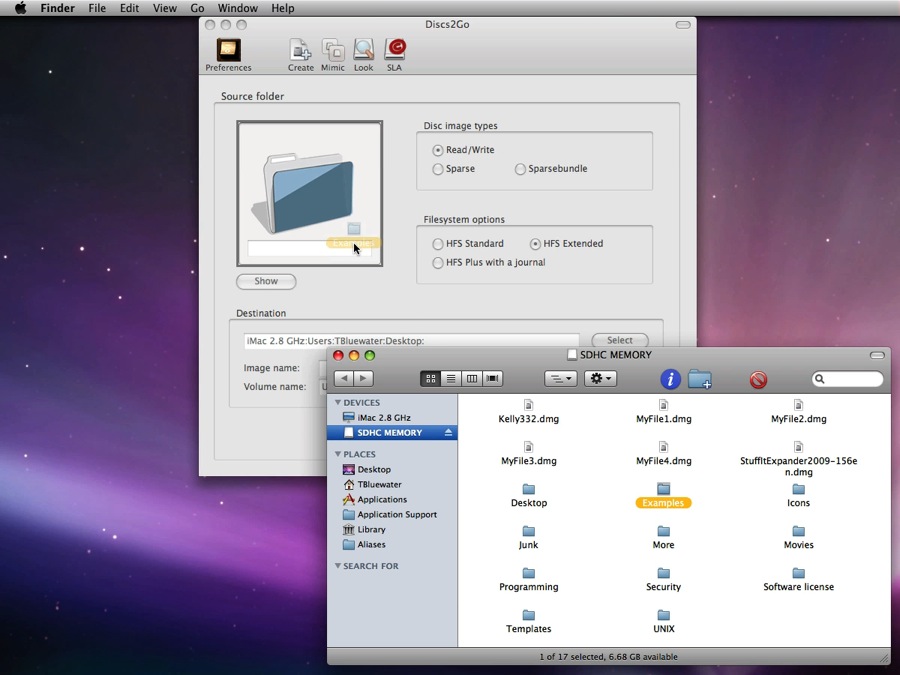
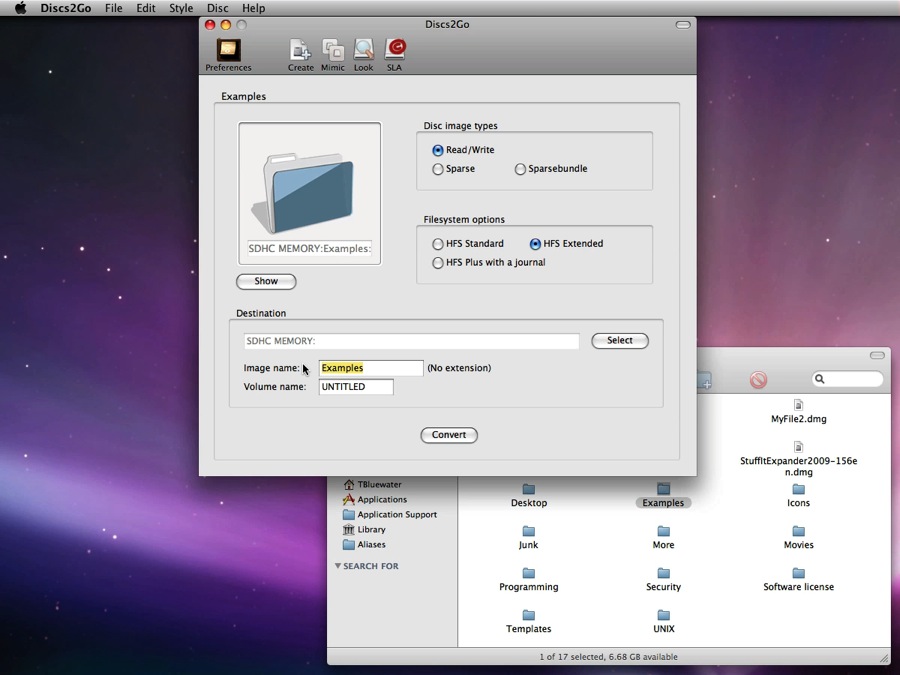
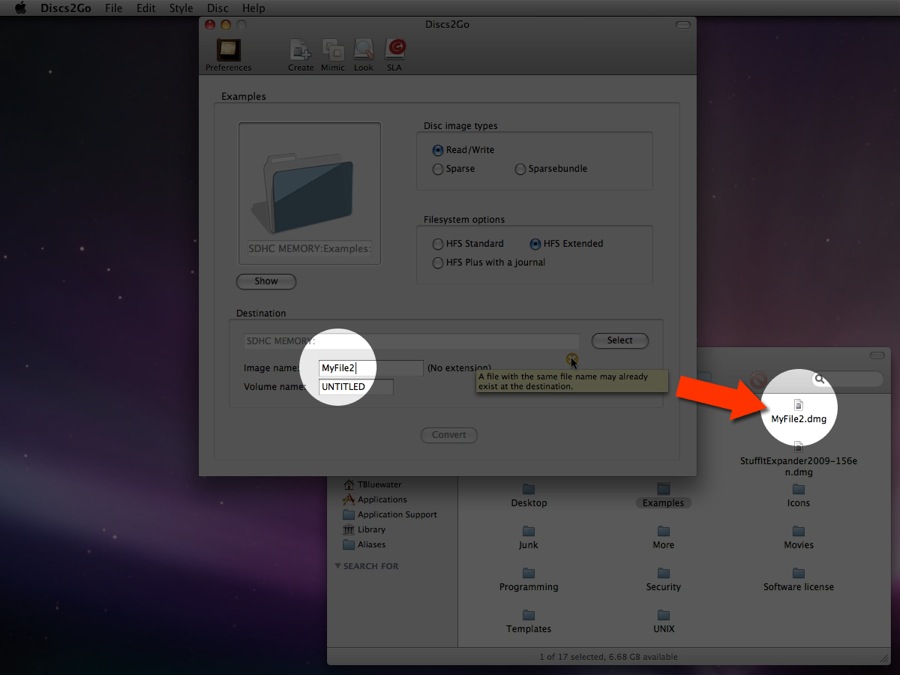
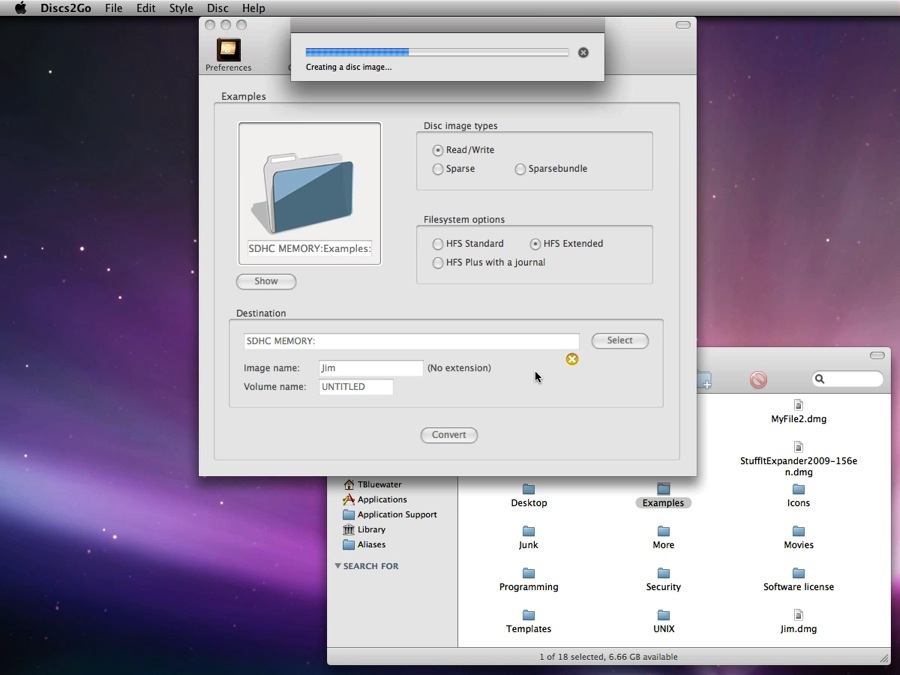
To start with drag and drop a source folder, which you want to convert into a disc image, onto the drop box. (See Screenshot 3a-1.) And Discs2Go will automatically name the disc image after the folder name. (See Screenshot 3a-2.) Do not add a file extension. If the Convert button at the bottom is grayed out, suspect that there already exists a disc image file with the same name. (See Screenshot 3a-3.)
There are three disc image types available. Choosing any of them will let you create Read/Write disc images. That is, you can add files and folders. 'Sparse' refers to disc images whose file sizes vary with the amount of contents inside the disc volume. If you add or delete a file, the size of the disc image itself will change. That isn't the case for Read/Write disc images whose file sizes are fixed.
|
