| MacHouse Software |
Last updated: March 19, 2011
|
| ExportQ2F - User's Guide |
1. Installing and uninstalling ExportQ2F Please read the README file that comes with the application. Or click here to download one. Click here to download license notices.
What is ExportQ2F? ExportQ2F lets you convert QuickTime-readable movies (3GP, 3G2, DV, M4V, MOV, MP4) into Flash videos (FLV), one at a time. Since ExportQ2F is based on ExportW2Q, we won't cover a lot of details here. For detailed information on how to use ExportQ2F, please also read ExportW2Q's User's Guide.
After configuring export settings, make sure that the color of the drop box has turned green. Then simply drag and drop a movie file onto the drop box. And? Just wait for ExportQ2F to finish producing a Flash movie. Isn't that simple?
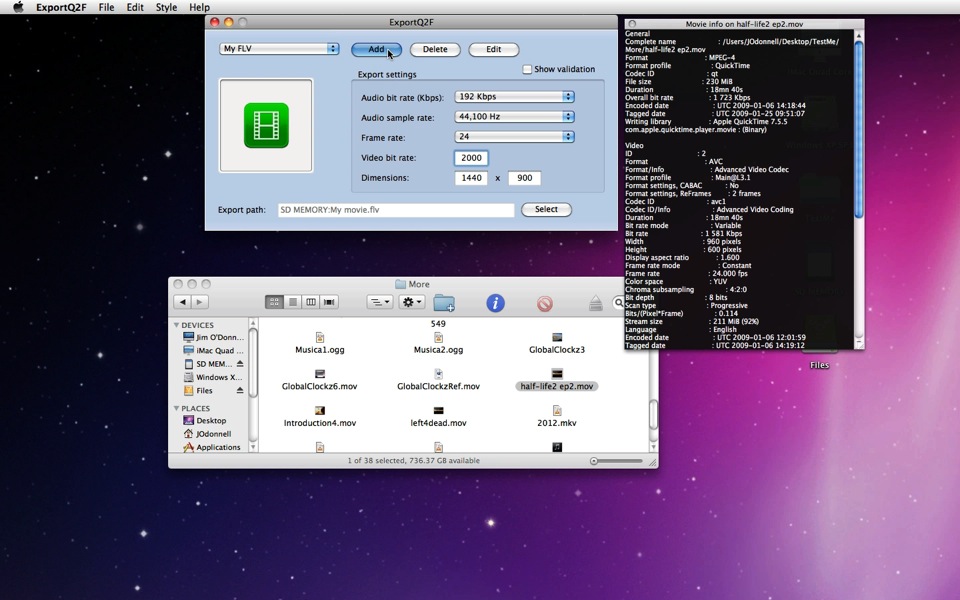
3. Converting QuickTime movies into Flash movies If you have a specific QuickTime-readable movie that you want to convert into a Flash video, you may want to open Movie info. Choose Info under File. (See Screenshot 3-1.) When another window pops up in the middle, drag and drop a movie file onto the green drop box. (See Screenshot 3-2.)
In order to convert a QuickTime-readable movie into FLV, ExportQ2F requires that you configure export settings. If you have Movie info opened for a source movie, you can easily fill out these settings. If you know you are going to use the same or similar export settings, click on the Add button to create a preset. (See Screenshot 3-3.) Now, if you have Movie Info opened, you shouldn't have trouble filling out the preset form. If necessary, turn on Show validation to see if any of the settings is invalid. (See Screenshot 3-4.) Finally, the bottom Create button will become clickable if all the settings are valid. Going back to the main window, choose an export preset you have just created from the top drop-down menu.
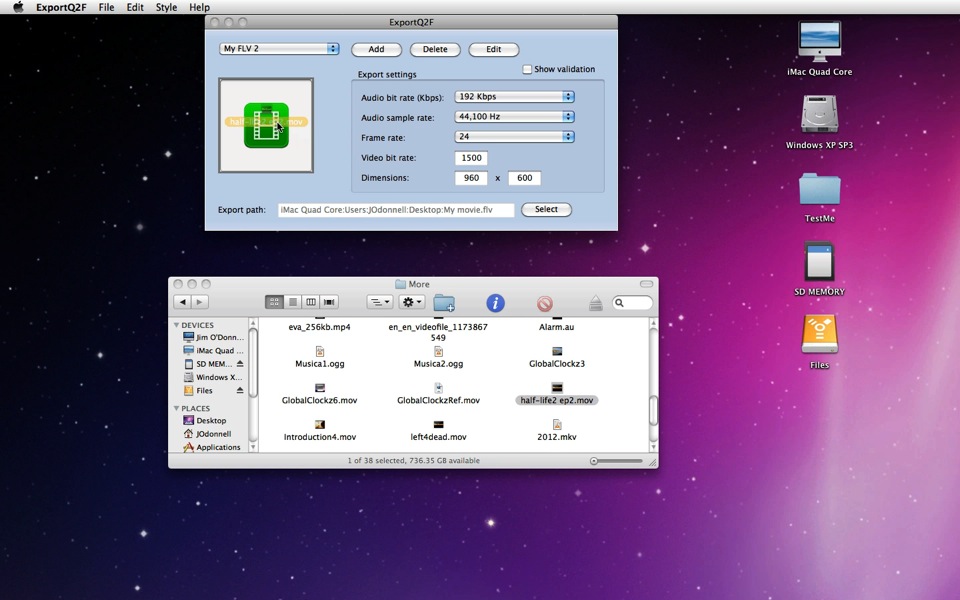
Initially, the color of the media drop box on the main window is gray, which indicates that it's not ready to accept a movie drop. (See Screenshot 3-5.) If any of the export settings is invalid, this drop box will refuse to accept a movie. In order to see which one is invalid, turn on the Show validation checkbox at the top-left corner.
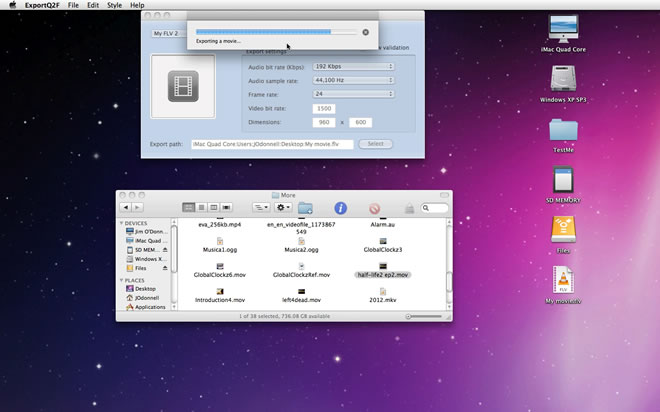
Whne you start up the applicatioin, ExportQ2F will automatically set an export path based on the default export folder and the movie name that are set in Preferences. When ExportQ2F finds out that this default export folder is invalid at startup, it will automatically set it to Desktop. Meanwhile, the export file path can be rejected in real time if a file sharing the same name already exists at the destination. If necessary, then, click on the Select button at the bottom to set a valid export path. (See Screenshot 3-6.) Finally, when the color of the drop box turns green, drag and drop a movie file onto the drop box. (See Screnshot 3-7.) And ExportQ2F will immediately start exporting a movie to the selected destination folder/volume. (See Screnshot 3-8.)
|