| MacHouse Software |
Last updated: February 19, 2011
|
| WatermarQue Plus - User's Guide |
The main job that WatermarQue Plus does is lay watermark text on any number of images. And there are two ways by which you can import images. You can simply import existing graphic files to WatermarQue Plus. Or you can create ones out of movie clips.
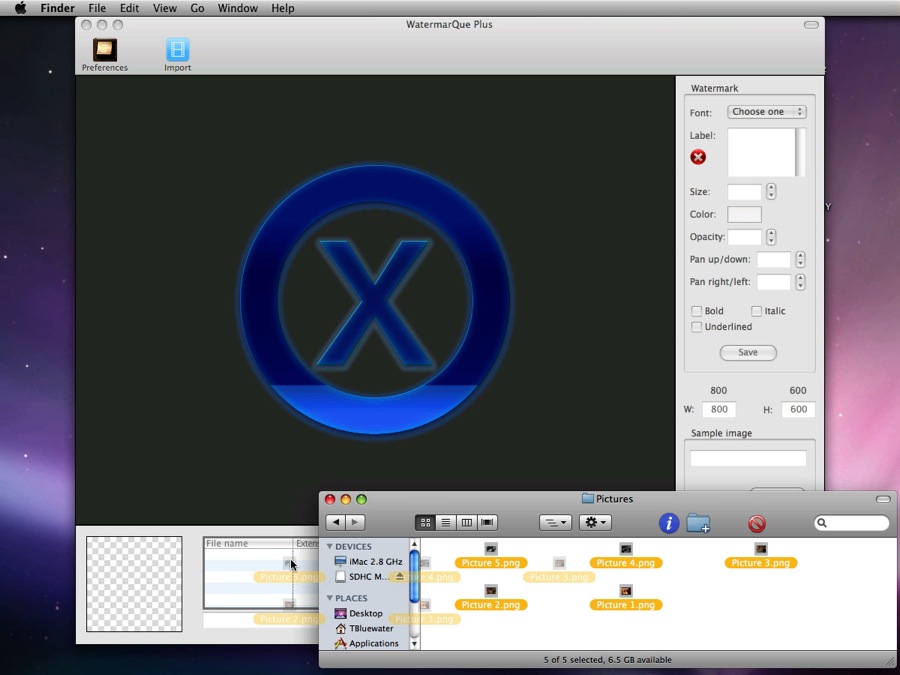
The main window is divided into three parts. (See Screenshot 3-1.) The largest part with a blue circle x is an area where you see watermark text. As its HelpTag suggests (See Screenshot 3-2.), this canvas also serves as a drop box where you can drag and drop a sample image so that you can see how watermark text will look. And the frame to the right is where you actually configure watermark text. And the bottom section also has a drop box. The listbox itself is a drop box not where you drag and drop a sample picture but where you import pictures on which to lay watermark. (See Screenshot 3-3.)
Different from Version 1.X, the image list is a multi-purpose window with a contextual menu with 6 commands. If you click on an image row, a preview will be displayed to the left. (See Screenshot 3-4.) With Version 2, you won't find buttons to remove, locate and open images any more. Rather, right-button-click on any image row. Given below are the descriptions of these contextual menu commands.
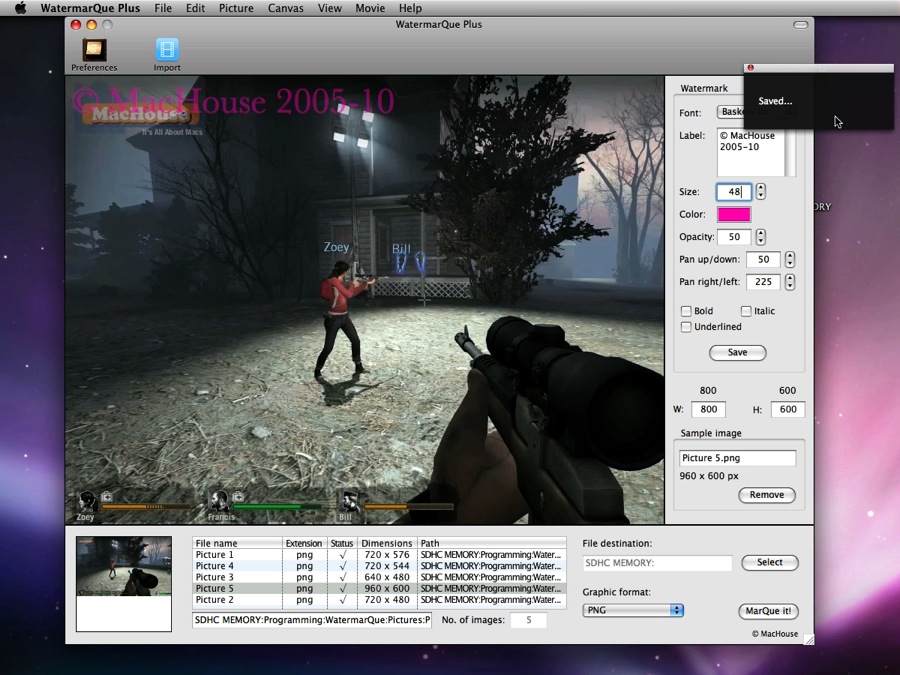
Now, suppose that you have already set the text size, opacity and others to customize watermark text. If you want to use the same text settings repeadly, click on the Save button to save them as default ones. If the watermark text settings are saved successfully, you will subsequently see a small window to the right. (See Screenshot 3-7.) And the saved settings can be seen under the Watermark tab of Preferences. (See Screenshot 3-8.) If necessary, make changes. Every time you close the Preferences window, changes will be saved, and they will be reflected when you launch the application next time.
You will be eventually ready to paint the imported images with a watermark. The final button to click on is located at the bottom-right corner of the window. (See Screenshot 3-9.) This button may be grayed out, and WatermarQue Plus will validate five export criteria in real time. Only if they are all cleared, the export button will become accessible. If any of them is not met, you are likely to see a tiny, red symbol as shown in Screenshot 3-3 & 4.
Finally, clicking on the export button, a progress window will probably appear briefly. (See Screenshot 3-10.) It should take WatermarQue Plus a few seconds if it's just the matter of a dozen image to be watermarked. Each exported file will be named directly after its original file with a new graphic file extension.
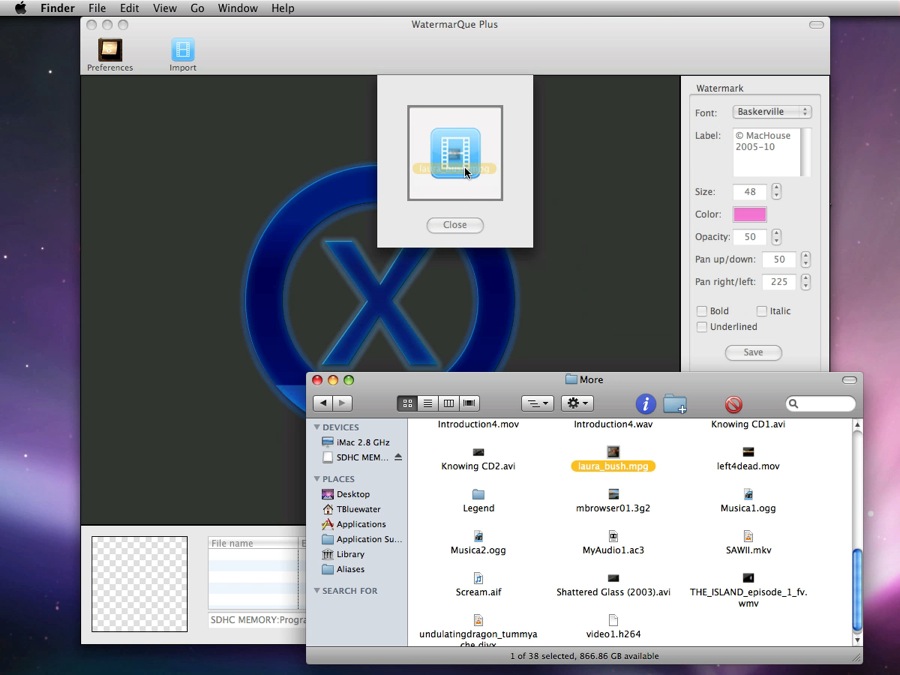
As mentioned before, the other source of images to be watermarked is movie files. That is, you can generate images with WatermarQue Plus instead of using existing ones. In order to import a movie clip, click on the Import button on the Toolbar. (See Screenshot 4-1.) And a small window with a media drop box will pop up. (See Screenshot 4-2.) Its HelpTag will tell you what media type you can drop here, depending on the choices you've made in Preferences > Movies. So simply drag and drop a movie clip onto the drop box. (See Screenshot 4-3.) If accepted, a built-in movie player will open.
Now, just move the playhead and find a frame where you want to take a snapshot. Then click on Take shot or Send shot. (See Screenshot 4-4.) If you click on Take shot, a picture at the selected frame will be sent to the clipboard. (See Screenshot 4-5.) You can bring it to life with a graphic editor including Preview (See Screenshot 4-6.), Adobe Fireworks, Adobe Photoshop... If you want, you can import a picture manually into the image listbox on the main window. You will take this choice if you first want to edit the raw picture.
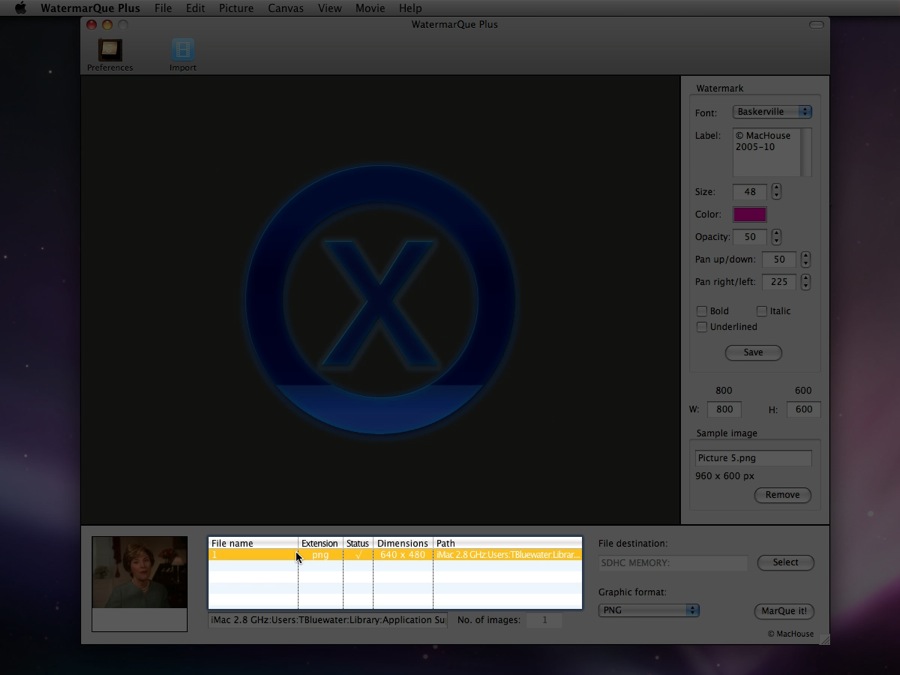
Alternatively, you can directly send a picture at the selected frame to the image list on the main window. Simply, click on Send shot. (See Screenshot 4-7.) And WatermarQue Plus will generate an image file, which will be stored in its cache folder. The same picture will be subsequently listed on the main window. (See Screenshot 4-8.) These movie snapshots can be used in the same way as ones that are directly imported into the image list by hand. And, of course, you can watermark them.
|